Here's the scoop.
The pen takes a pattern:

And spreads lit along your brush stroke as if you were unrolling wallpaper:

But this wallpaper can do curves.
It can grow and shrink depending on how hard you press:
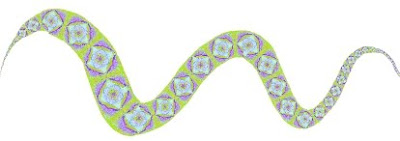
Painter comes with default patterns.
Here's some from Painter 8:
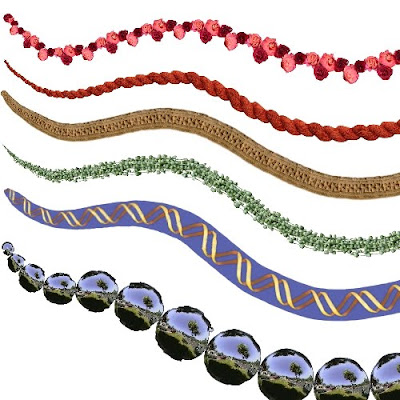
And here are some custom ones I made:

They're pretty easy to make.
Launch Corel Painter. Open an existing image or create a new one.
Then select the part you want to be your pattern.
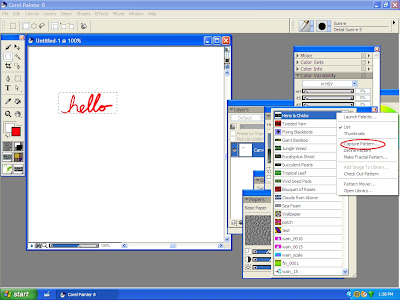
In the example below (click for larger image), I selected the "hello", then I opened the pattern window (control F9), clicked the little triangle in the upper right corner, and picked "capture pattern".
A new menu appears, asking you to name the pattern. Type a name. You're done.
From the brush selection menu, pick Pattern Pens > Pattern Pen.
Then select your new pattern in the pattern menu.
Play around with the pen. You'll notice left to right strokes reproduce it right side up.
(Right to left strokes put it upside down!)

This works great on a white background, but if you put it in front of a darker background, you'll see the white background is part of the pattern too.
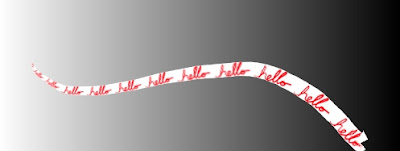
There's several ways to save your pattern without the background.
The easiest way is to select the white area (be sure contiguous isn't selected,) then invert the selection (Shift+Control I). Then go back to the Patterns menu and select "Capture Pattern."
Then, in the brush selection area, switch from Pattern Pen to Pattern Pen Masked.
The "background" is gone!

If you look closely, you'll notice this pattern has white edges. Some of the background is leaking in!
If it bothers you, here's the workaround:
Go back to the original "hello" image and select the white area (as you did before), and invert the selection. Now select none (Control+D) and fill your entire image with the same color as your pattern*
The image should look like a red rectangle, but if you reselect (Ctrl+Shift+D), your outline will reappear. Capture it as a pattern. You're in business!
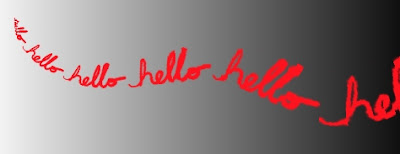
The latter technique only works with Pattern Pen Masked. The regular pattern pen will draw it as a red ribbon.
*Also note that the deselect-fill-reselect-capture trick works best when your pattern is either one color or composed of similar colors. There's ways to get rid of the white edge for more colorful masked patterns. I'll tell you if you're curious.

3 comments:
Amazing and fun!!!
Hey I was able to do it too, but mine weren't as nice as yours. Excellent tutorial.
Thanks, Linda and Sally.
I got some of the pattern ideas from studying Louis Wain's "wallpaper" cats.
He used zig zags, repeating shapes, nested organic shapes etc.
When I designed the the custom pattern seen in the top row, I was thinking "What would Sally do?"
Post a Comment